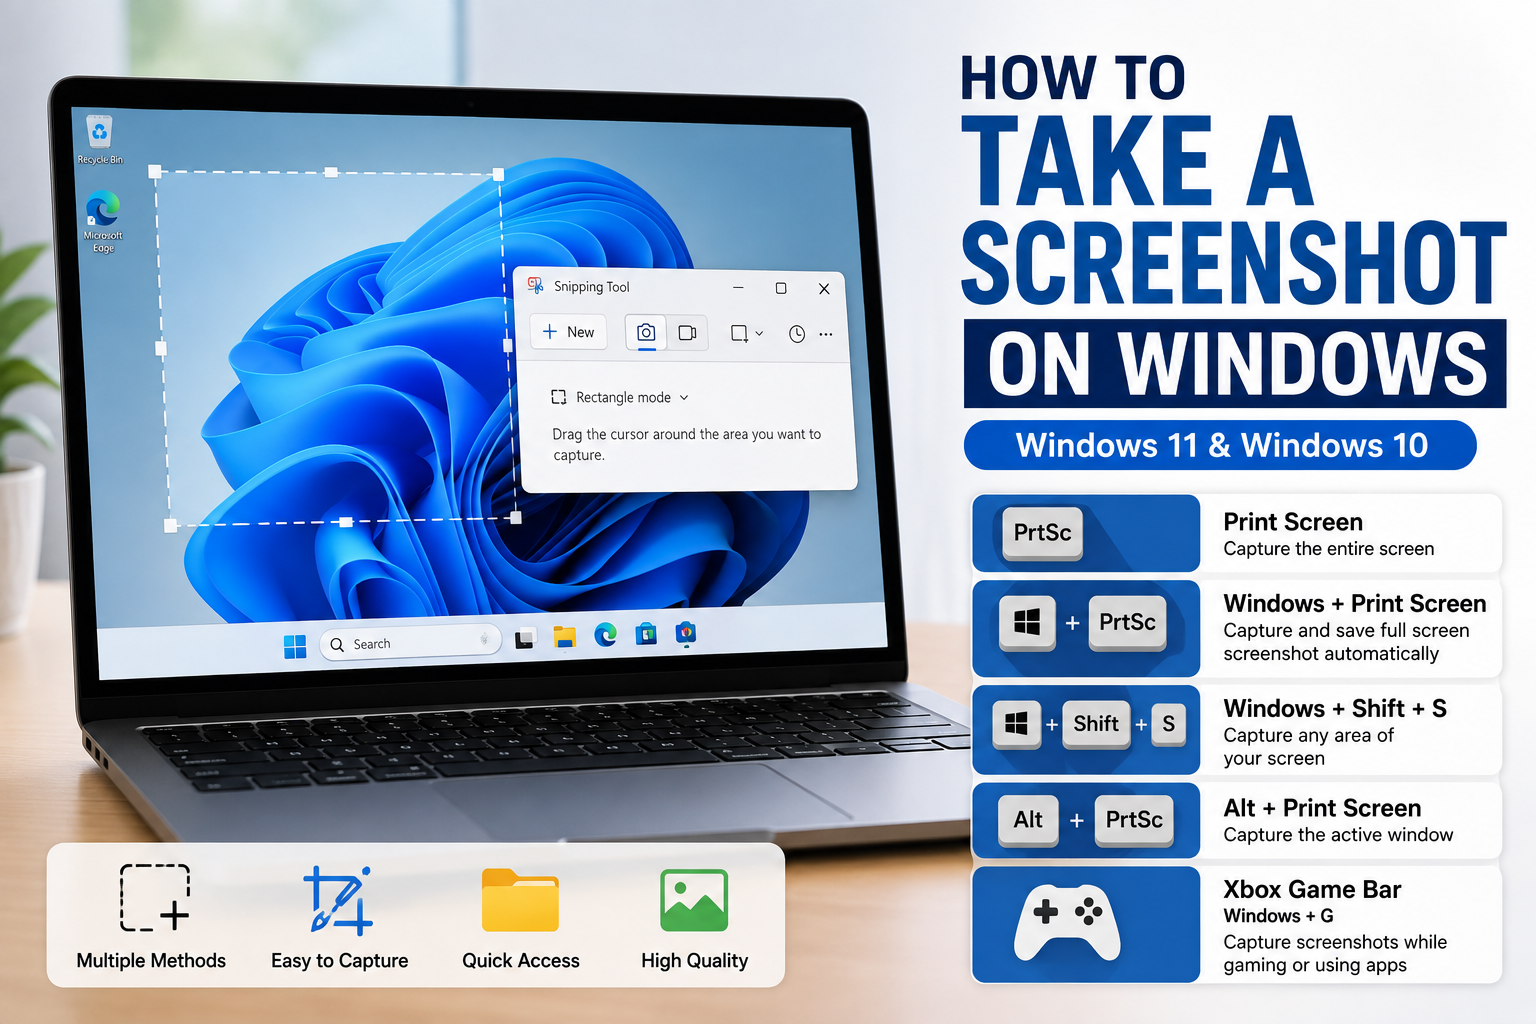
How to Take a Screenshot on Windows (Windows 11 & Windows 10)
Taking a screenshot on Windows is one of the most useful skills for students, professionals, gamers, and everyday computer users. Whether you need to save an important document, report an error, share information with a friend, or create a tutorial, Windows offers several built-in ways to capture your screen.
The good news is that you don’t need to install third-party software for most screenshot tasks. Windows 11 and Windows 10 include multiple screenshot tools that allow you to capture the entire screen, a single window, or a selected area.
In this guide, you’ll learn how to take a screenshot on Windows using the Print Screen key, Snipping Tool, keyboard shortcuts, Xbox Game Bar, and more.
Why Take Screenshots on Windows?
Screenshots are useful for many everyday tasks, including:
- Saving online receipts
- Capturing error messages
- Sharing conversations
- Creating tutorials
- Saving images
- Recording online classes
- Reporting software issues
- Keeping important information
Instead of taking a photo of your monitor using a phone, screenshots provide a cleaner and clearer image.
Method 1: Take a Screenshot Using the Print Screen Key
The easiest method is using the Print Screen (PrtScn) key.
Steps
- Open the screen you want to capture.
- Press PrtScn on your keyboard.
- Windows copies the screenshot to the clipboard.
- Open Paint, Word, or another application.
- Press Ctrl + V to paste.
- Save the file.
This method captures your entire screen.
Method 2: Windows + Print Screen
Want Windows to save the screenshot automatically?
Simply press:
Windows + Print Screen
The screen may briefly dim, indicating that Windows has captured the screenshot.
The image is automatically saved inside:
Pictures → Screenshots
This is one of the fastest methods for users who regularly capture their screen.
Method 3: Take a Screenshot Using Snipping Tool
The Snipping Tool is built into both Windows 10 and Windows 11.
It allows you to capture only the part of the screen you need.
Steps
- Open Start Menu.
- Search for Snipping Tool.
- Open the app.
- Click New.
- Drag to select the area.
- Save the screenshot.
Snipping Tool also offers different capture modes such as rectangular, free-form, window, and full-screen snips.
Method 4: Windows + Shift + S
This is one of the most popular screenshot shortcuts.
Press:
Windows + Shift + S
Your screen will dim, and a small toolbar will appear at the top of the screen.
You can choose:
- Rectangular Snip
- Free-form Snip
- Window Snip
- Full-screen Snip
The screenshot is copied to the clipboard.
Simply paste it using:
Ctrl + V
Edit and Organize Your Screenshots
After capturing a screenshot, you may want to move it to another device or include it in a document.
If you’re also working across Apple and Windows devices, check out our guide on How to Transfer Photos from iPhone to PC for simple ways to move images between devices.
If you need to digitize paperwork before adding it to a report or presentation, our guide on How to Scan a Document on iPhone explains how to create high-quality document scans using your iPhone.
Method 5: Take a Screenshot of the Active Window (Alt + Print Screen)
Sometimes you don’t want to capture your entire desktop. Instead, you only need the window you’re currently using. This is useful when creating tutorials, documenting software issues, or sharing information without revealing other open applications.
Windows includes a simple shortcut for this.
Steps
- Open the application or window you want to capture.
- Click anywhere inside that window to make it active.
- Press Alt + Print Screen (PrtScn).
- Windows copies the active window to the clipboard.
- Open Paint, Microsoft Word, PowerPoint, or another image editor.
- Press Ctrl + V to paste the screenshot.
- Save the image.
When Should You Use This Method?
This shortcut is ideal when you want to capture:
- A browser window
- An Excel spreadsheet
- A Microsoft Word document
- A software error message
- An application settings window
- A video player
Since only the selected window is captured, the screenshot looks cleaner and more professional than a full-screen capture.
Method 6: Take a Screenshot Using Xbox Game Bar
Although Xbox Game Bar was designed for gamers, it can also capture screenshots from many desktop applications.
Steps
- Open the application or game.
- Press Windows + G.
- The Xbox Game Bar overlay will appear.
- Click the Capture widget.
- Select the Screenshot button.
You can also use the shortcut:
Windows + Alt + Print Screen
The screenshot is automatically saved.
Where Are Game Bar Screenshots Saved?
By default, screenshots are usually stored in the Videos folder inside Captures.
If you regularly record gameplay or tutorials, keeping all captures in one location can make them easier to organize.
Method 7: How to Take a Screenshot on a Windows Laptop
Many laptops use compact keyboards, so the Print Screen key may work slightly differently.
Depending on your laptop manufacturer, you may need to press:
- Fn + Print Screen
- Fn + Windows + Print Screen
- Windows + Shift + S
- Alt + Print Screen
The exact shortcut depends on your keyboard layout.
If one shortcut doesn’t work, check your laptop’s keyboard labels or user guide.
How to Take a Scrolling Screenshot on Windows
A common question is whether Windows can capture an entire scrolling webpage or document.
Windows doesn’t include a built-in universal scrolling screenshot feature for every application.
Some web browsers, document tools, and third-party apps offer scrolling capture for supported content.
If you’re creating tutorials or documentation, check whether the application you’re using includes its own scrolling screenshot option.
Where Are Screenshots Saved on Windows?
The storage location depends on the screenshot method you use.
| Method | Save Location |
|---|---|
| Print Screen | Clipboard only |
| Alt + Print Screen | Clipboard only |
| Windows + Print Screen | Pictures → Screenshots |
| Snipping Tool | Choose save location |
| Xbox Game Bar | Videos → Captures |
If your screenshot isn’t appearing where expected, remember that clipboard-based methods require you to paste the image into another application before saving it.
How to Edit a Screenshot
After capturing your screen, you may want to crop unnecessary areas or highlight important information.
Windows provides several simple editing options.
You can:
- Crop unwanted sections
- Highlight important details
- Draw arrows
- Blur sensitive information
- Add text
- Resize the image
These edits can make screenshots more useful when sharing instructions or creating reports.
How to Copy a Screenshot Without Saving It
If you only need to paste a screenshot into an email, document, or chat message, you don’t have to save it as a file.
Use:
Print Screen
or
Alt + Print Screen
The screenshot will be copied to your clipboard.
Simply press:
Ctrl + V
to paste it wherever you need it.
This method is quick and helps avoid creating unnecessary image files.
How to Save Screenshots in JPG or PNG
Most screenshot tools allow you to save images in common formats such as PNG or JPG.
PNG
Best for:
- Tutorials
- Text
- User interfaces
- Software screenshots
JPG
Best for:
- Smaller file sizes
- Sharing online
- General photos
For most Windows screenshots, PNG provides better clarity, especially when capturing text or application windows.
Internal Resources You May Find Helpful
If you’re working with screenshots and digital documents, these guides on The American Vibes may also help:
- How to Transfer Photos from iPhone to PC
https://theamericanvibes.com/how-to-transfer-photos-from-iphone-to-pc/ - How to Scan a Document on iPhone
https://theamericanvibes.com/how-to-scan-a-document-on-iphone/ - How to Clear Cache on iPhone
https://theamericanvibes.com/how-to-clear-cache-on-iphone/
These tutorials complement this guide and can help you manage screenshots, documents, and device storage more efficiently.
Common Screenshot Problems
Print Screen Key Doesn’t Work
Possible reasons include:
- Function (Fn) key required
- Keyboard shortcut disabled
- Clipboard issue
- External keyboard problem
Restarting your computer or trying another screenshot method often resolves temporary issues.
Screenshot Looks Blurry
A blurry screenshot may result from:
- Image compression
- Saving in a low-quality format
- Enlarging a small image after capture
Saving screenshots as PNG files generally preserves better quality for text and interface elements.
Can’t Find the Screenshot
If you used Print Screen instead of Windows + Print Screen, remember that the image is copied to the clipboard rather than automatically saved.
Open Paint or another image editor and press Ctrl + V to paste it before saving.
Best Screenshot Method: Which One Should You Use?
Windows offers several ways to capture your screen, and the best option depends on what you’re trying to do.
| Method | Best For | Automatically Saved |
|---|---|---|
| Print Screen | Entire screen | ❌ No |
| Windows + Print Screen | Entire screen | ✅ Yes |
| Alt + Print Screen | Active window | ❌ No |
| Windows + Shift + S | Selected area | ❌ Clipboard |
| Snipping Tool | Flexible screenshots | ✅ After saving |
| Xbox Game Bar | Games & apps | ✅ Yes |
If you frequently take screenshots, Windows + Shift + S and Snipping Tool are usually the most versatile choices because they let you capture only the area you need.
Tips for Better Screenshots
Want your screenshots to look more professional? Follow these simple tips:
Clean Your Desktop
Close unnecessary windows and remove distractions before taking a screenshot.
Capture Only What Matters
Instead of showing your entire screen, capture only the important section.
Hide Personal Information
Before sharing screenshots online, blur or crop:
- Email addresses
- Phone numbers
- Passwords
- Financial information
- Personal files
Use PNG Format
PNG files preserve sharp text and are ideal for tutorials, guides, and technical documentation.
Organize Your Screenshots
Create folders such as:
- Work
- School
- Tutorials
- Receipts
- Personal
This makes it easier to find screenshots later.
Frequently Asked Questions
How do I take a screenshot on Windows 11?
You can use Windows + Shift + S, Windows + Print Screen, Print Screen, or the Snipping Tool. Each method serves a different purpose depending on whether you want to capture the entire screen, a selected area, or a single window.
How do I take a screenshot on Windows 10?
Windows 10 includes the same built-in screenshot options, including Print Screen, Windows + Shift + S, Windows + Print Screen, and the Snipping Tool.
Where are screenshots saved?
If you press Windows + Print Screen, screenshots are usually saved in:
Pictures → Screenshots
If you use Print Screen or Alt + Print Screen, the image is copied to the clipboard and must be pasted into another application before saving.
Why isn’t the Print Screen key working?
Possible reasons include:
- Your keyboard requires the Fn key.
- Another application is interfering with the shortcut.
- Your keyboard settings have changed.
- A temporary Windows issue.
Try Windows + Shift + S or restart your computer if the problem continues.
How do I take a screenshot without the Print Screen key?
You can use:
- Snipping Tool
- Windows + Shift + S
- Xbox Game Bar
These methods work even if your keyboard doesn’t have a dedicated Print Screen key.
Can I take a screenshot of only one window?
Yes.
Click the window you want to capture and press:
Alt + Print Screen
Only the active window will be copied.
Can I edit screenshots after capturing them?
Yes.
You can crop, resize, highlight, annotate, or add text using Windows’ built-in editing tools or another compatible image editor.
How do I take a screenshot on a laptop?
Many laptops use the same shortcuts as desktop computers, although some require the Fn key together with Print Screen.
If one shortcut doesn’t work, try Windows + Shift + S, which works on many Windows laptops.
Can Windows take scrolling screenshots?
Windows doesn’t include a universal scrolling screenshot feature for every application.
Some browsers and third-party tools support scrolling captures for long webpages or documents.
Which screenshot method is the fastest?
For most users:
- Windows + Shift + S offers the most flexibility.
- Windows + Print Screen is the fastest way to automatically save a full-screen screenshot.
Related Guides
If you’re learning more Windows and iPhone tips, you may also find these guides helpful:
- How to Transfer Photos from iPhone to PC
https://theamericanvibes.com/how-to-transfer-photos-from-iphone-to-pc/ - How to Scan a Document on iPhone
https://theamericanvibes.com/how-to-scan-a-document-on-iphone/ - How to Clear Cache on iPhone
https://theamericanvibes.com/how-to-clear-cache-on-iphone/
These tutorials can help you manage screenshots, documents, storage, and files more efficiently.
Final Thoughts
Knowing how to take a screenshot on Windows is an essential skill for students, professionals, remote workers, gamers, and everyday PC users.
Whether you’re saving important information, creating tutorials, reporting software issues, or sharing images with others, Windows provides several built-in screenshot methods that require no additional software.
For most users, Windows + Shift + S and the Snipping Tool offer the best combination of speed and flexibility. If you simply want to save your entire screen instantly, Windows + Print Screen remains one of the quickest options.
Choose the method that best fits your workflow, and remember to organize your screenshots into folders so they’re easy to find later.
About The Author
